Complete guide to your van electrical system
Posted by Heatso on 11th Oct 2022
For many, installing the electrical system is often the most challenging part of a van conversion. This DIY van electrical guide for campers & RVs covers everything you’ll need to know to assemble your own van electrics.
COMPLETE GUIDE TO YOUR VAN ELECTRICAL SYSTEM
Feeling overwhelmed about building your camper van’s electrical system? You’re not alone. For many, installing the electrical system is often the most challenging part of a van conversion.
This DIY van electrical guide for campers & RVs covers everything you’ll need to know to assemble your own van electrics.
DETERMINING YOUR DAILY POWER CONSUMPTION
First things first, we need to determine how much power you need on board. When determining battery capacity we suggest having at least 1.5-2x your daily estimated usage at a minimum. That’s why we are going to calculate that in the next step.
You should always do your power audit during the winter months because that is when your solar panels will provide the least energy, and you should be able to store more capacity.
Let’s start with DC power. For each end-point appliance, determine the amperage and multiply it by the number of hours a day it will draw power.
Current x Hours = Amp Hours (of battery storage you need)
Your AC power calculations require one more step as about 15% of usable power is lost in the conversion from DC to AC power. To account for this, simply divide each calculation by 0.85. In addition, most AC appliances list power usage in Watts so you will need to divide by 12V to get to current (A) first.
Once you know your total amp-hours, we recommend having at least 1.5 - 2 times your daily estimate. This will allow you to stay off-grid for longer without having to top up, but you can always go for more if you want.
ON THIS PAGE
BATTERIES - THE HEART OF THE SYSTEM
The batteries are the “heart” of your camper van’s electrical system. They supply the power required to keep all your devices running. These devices include your lights, fan, smartphone, laptop, and more.
Therefore, if you want to build a robust electrical system that adequately meets your power demands, deciding the right type and size of batteries is an essential first step. Keep reading to learn how to select the best batteries for your camper van.
Battery Options (AGM vs Lithium)
Since you know how much battery capacity you need, let’s figure out which batteries to buy. There are two main types: Lithium and AGM. The decision is often brought down to two main points: budget and battery life.
AGM batteries are cheaper, heavier, and can only be discharged to half capacity before sustaining damage. Lithium batteries are lighter, more expensive, and can be depleted nearly 100% of capacity safely.
You can buy multiple of the same batteries, wire them in parallel, and add the capacities together. You do not need to buy one massive 400Ah battery. A lot of conversion vans have multiple 100Ah batteries.
Wiring multiple batteries: Series vs. Parallel
Remember that when you connect multiple batteries in series, you are adding the voltages of each battery together while keeping the total amp-hours the same.
Instead, wiring batteries in parallel keeps the voltage unchanged while adding together the amp hours. Most deep-cycle batteries are 12V and you want to build a 12V system while expanding the battery bank size. Therefore, wiring in parallel is the ideal option for most vanlife cases.
POWER SOURCES
TThe next step after you have chosen your battery type and size is to determine the components that you will need to charge them. There are 3 ways to charge your batteries: solar power, charging while driving, and via shore power.
Inverters, converters, and transfer switches are an essential part of any camper electrical system. We highly recommend you do not rely on one way of charging, and have a good understanding of what these parts do. The more redundancy you have in your van build, the more adaptable you are to the varying lifestyle of van life.
Victron Energy Smart Solar MPPT 100 50 50A Charge controller Wireless Bluetooth
Charging from the sun
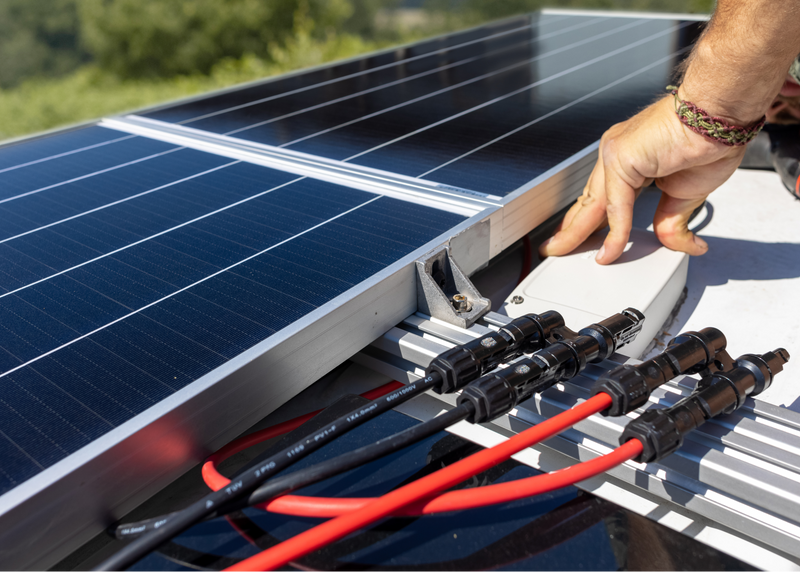
An MPPT Solar Charge Controller is needed to convert the voltage of your solar system. It delivers the power to your batteries at an optimal voltage that is safe for them to charge at.
Because MPPT Charge Controllers are able to deliver a higher percentage of power to batteries, they are more efficient than other charge controllers. They do this by simultaneously increasing amperage while decreasing the voltage of the current.
Sizing your MPPT Solar Charge Controller
Solar controllers all have numbers in the name. These numbers represent the maximum voltage and maximum current they are rated for. For example, Victron MPPT Solar Controller (100/50) has a maximum voltage of 100V or 50A.
This number is unique to your specific solar setup. To determine what is safe for your application, you need to know how much solar power you need, and how the panels are wired.
The principle is the same as with batteries. If your panels are wired in parallel, you need to add up their amperage. If your panels are wired in series, you need to add up their voltage. The resulting number should not exceed the rated voltage and amperage of the MPPT controller.
Charging from shore power
Most vanlifers find it convenient to be able to plug in and charge their house batteries when the option is available. To do this, your van's electrical system will need shore power. This is achieved by installing a converter charger or an inverter charger.
Battery chargers simply convert 120V AC power to 12V DC to charge your batteries. In addition to charging your batteries, the converter also distributes converted DC power to other RV components.
Inverter chargers have the additional advantage of also providing AC power to your appliances. This makes them generally the preferred option. Installing one inverter charger is easier and takes up less space than having an inverter and a converter separately.
Charging while driving
The purpose of a DC/DC charger is to charge your batteries while you drive. The DC/DC charger is safer than a standard battery isolation manager (Li-BIM) as it is able to control the current and voltage going into your motorhome batteries. This is a great addition to any van electrical plan, especially to help you get through the winter when there’s less sunlight!
Victron Energy Orion DC to DC converter 24 to 12V
TYPES OF POWER LOADS
Now that we’ve covered the power input, let’s talk about the output. The two main types are 12V DC and 120V AC-powered appliances. While your camper’s native electrical system is likely to be 12V, you’ll need some modifications to be able to use AC devices.
12V DC loads
A DC Fuse Panel serves as the distribution point for all of your DC appliances. Appliances like roof fans, lights, fridge, heater, etc. Basically, all the vanlife essentials that ensure a comfortable life on the road. A good way to think about DC devices is they don’t get plugged into an outlet.
In addition to the wide availability of 12V devices, a 12-volt system is also easy to install. Your campervan is likely to have a native 12-volt system onboard. This means that you’ll need relatively few modifications to power all your 12-volt appliances.
Finally, 12V systems are generally safe. Electricity lower than 50 volts is classified as safe for human contact. Nonetheless, you should always be cautious when working with any type of live electrical system. Always wear appropriate protective equipment.
120V AC loads
If you plan to charge laptops, power a blender, or run any other standard household device, it’s necessary to install an inverter. It will convert the 12V from your batteries to a usable 120V for AC-powered devices.
The two types of inverters are True Sine Wave (TSW) and Modified Sine Wave (MSW). TSW is often the better choice, as it delivers a more consistent signal when compared to the choppier modified sine wave signal.
The three most common inverter sizes are 1000, 2000, and 3000 watts, like the Victron Energy MultiPlus Compact Inverter. To determine which size is best for you, use the calculations we did previously to find the maximum current you will be drawing from your van at any one time.
PROTECTING YOUR CAMPER VAN POWER SYSTEM
All electrical systems need protection, especially campervan electrical systems. One of the dangers of a van’s electrical system is rubbing through the insulation on a wire. If there’s contact between the copper wire and the chassis, it can unexpectedly ground the entire system. This can seriously damage your electrical components, and can even result in vehicle fires.
In a DIY camper electrical system, you need to route your wires through tight spaces with sharp edges. On top of that, your motorhome is constantly moving and shaking. That’s why we always suggest investing in some extra layers of protection for your system.
Fuses
A fuse is a thin strip of metal that melts when there is an overcurrent. This melting opens the circuit thus cutting the power supply to the device on the other end.
Fuses are an essential part of any campervan electrical system and the most well-known way to protect an electrical circuit.
To choose the proper fuse, start by checking the device on the circuit. That is the best recommendation to follow. If that is not present, use the following:
Maximum Fuse Size: Use the chart below
Minimum Fuse Size = Appliance Amperage x 1.25
Wire protection
We suggest using two layers of additional protection on your main wires.
A wire sheath is an expandable braided sleeve that adds a layer of resistance to rubbing and cutting, or “abrasion resistant”. This is ideal for wires that pass through wall cavities and will protect the wire from sharp edges.
A wire conduit is essentially plastic tubing used for wires that need to be run externally, or under the base of the camper. A conduit will add another layer of protection from cuts and rubbing, but also protects from debris and moisture.
SELECTING THE CORRECT WIRE SIZE
Now that you have the proper components, batteries, and monitors, you need to figure out the wires and fuses to connect them all. There are only two things you need to select the proper wire gauge: the current of the load, and the length of the wire from the source to the appliance.
You can always use a larger gauge wire, but the reverse is not true and can result in catastrophic failure of your system. The downside to larger gauge wire is that it is harder to work with and is more expensive.
Determine the current of the load
Determining the current load of an appliance is as easy as checking the manual or spec sheet. You are simply looking for the amperage of the appliance. Many appliances might even have amperage on the label.
In case you are only provided with wattage, you can still easily calculate the current. Simply divide the wattage of the appliance by the voltage of your system.
Determine the length of the wire
This is as simple and straightforward as it sounds. Measure the path the wire will take from the batteries to where the appliance is going and then back to the batteries.
When approximating this number, always best to approximate too high than too low. And don’t forget to get the distance going in both directions.
Voltage Drop Tolerance
As power travels from the power source to the load, it encounters a small amount of resistance. This causes a slight drop in voltage.
Certain appliances can tolerate more or less voltage drop than others: we call these critical drop and non-critical voltage drop appliances. Critical drop appliances can only tolerate a 3% voltage drop. Non-critical voltage drop can handle up to a 10% voltage drop.
Critical voltage drop wires include those connecting the batteries, the inverter, MPPT charge controllers, and your DC fuse panel – basically the backbone of your electrical system.
Non-critical voltage drop wires are those going to your individual point-of-use appliances that are generally more tolerant to fluctuations in voltage (note: please check with your appliance manufacturer to be sure).
Adding it all up
Once you have your current and wire length, plug the values into the chart below to get the correct gauge for your wires. Once you have the minimal wire gauges, you can increase some of the thinner wires so you don’t have to buy too many different types of wire. Usually, having 2-3 different wire gauges is enough for a DIY camper electrical system.
